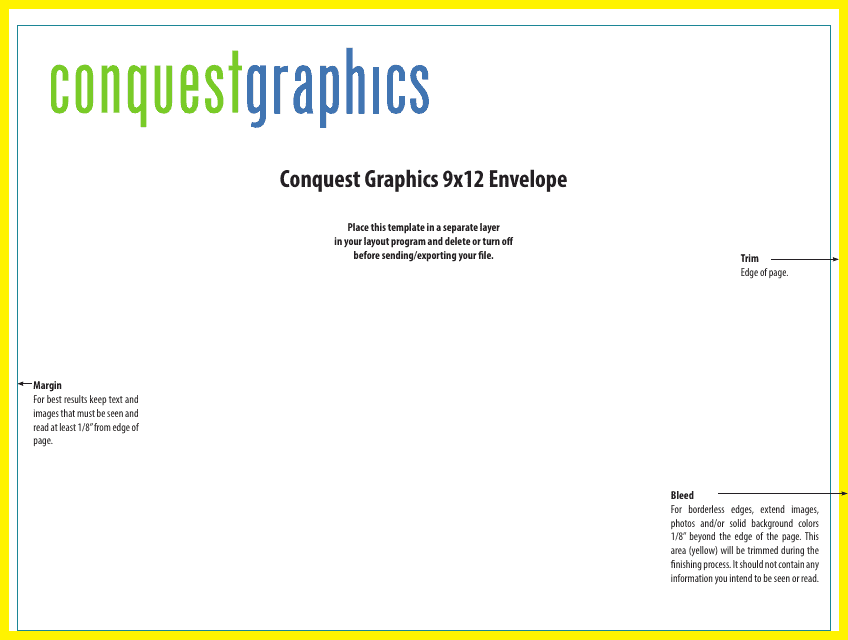
9X12 Envelope Template
9X12 Envelope Template - Open word and create a new blank document. Dropdown on the envelope options. Back in the page setup dialog, your custom size should be selected in the page size dialog. Type the recipient's address in the delivery address box. When printing on envelopes in word there are many envelope sizes presented but not the common 9 x 12 size. You can also adjust the font and formatting of the address text by clicking the font button in the envelopes and labels dialog box. To print a single envelope in microsoft word for microsoft 365: I would assume an update caused this issue. However, doing a file > print resulted in only the delivery address being printed in the wrong place (along the top edge of the envelope), and no return address printed. To avoid having to enter the custom size each time, use the add to document button in the envelopes dialog to make a blank envelope, and save it as a document or template file that you can reuse. The disadvantage is that word doesn't save custom size settings. Type your own address in the return address box, or check the omit checkbox if you don't need to print the return. Copy the address block for the first envelope. Copy and paste for multiple envelopes: Well, put the envelope in the position where it is properly aligned by the paper feed guides (though that is usually the center as adjusting the guides moves them both towards or away from the center) and then make any adjustments necessary in word to alter the location of the text via the print options dialog. When i click ok from the envelope dialog a new word page opens with the envelope outline shown and the delivery and return address is in the correct place. When printing on envelopes in word there are many envelope sizes presented but not the common 9 x 12 size. Back in the page setup dialog, your custom size should be selected in the page size dialog. Go to mailings > envelopes. enter the mailing address in delivery address and your return address in return address. click options to choose envelope size and adjust printing options. However, doing a file > print resulted in only the delivery address being printed in the wrong place (along the top edge of the envelope), and no return address printed. To print a single envelope in microsoft word for microsoft 365: When i click ok from the envelope dialog a new word page opens with the envelope outline shown and the delivery and return address is in the correct place. To avoid having to enter the custom size each time, use the add to document button in the envelopes dialog. Copy and paste for multiple envelopes: The disadvantage is that word doesn't save custom size settings. To avoid having to enter the custom size each time, use the add to document button in the envelopes dialog to make a blank envelope, and save it as a document or template file that you can reuse. Well, put the envelope in the. To print on this envelope size, the ability to create a custom size is present but it involves many necessary keystrokes. If the preview doesn't show a #10 envelope, click the options button. Enter the smaller dimension in width, the longer in in height. Go to mailings > envelopes. enter the mailing address in delivery address and your return address. Back in the page setup dialog, your custom size should be selected in the page size dialog. Additionally, word does not seem to automatically retain all of those custom sizes settings once the application is. When i click ok from the envelope dialog a new word page opens with the envelope outline shown and the delivery and return address is. Type your own address in the return address box, or check the omit checkbox if you don't need to print the return. When printing on envelopes in word there are many envelope sizes presented but not the common 9 x 12 size. Open word and create a new blank document. Additionally, word does not seem to automatically retain all of. To print on this envelope size, the ability to create a custom size is present but it involves many necessary keystrokes. To avoid having to enter the custom size each time, use the add to document button in the envelopes dialog to make a blank envelope, and save it as a document or template file that you can reuse. Open. To print a single envelope in microsoft word for microsoft 365: Additionally, word does not seem to automatically retain all of those custom sizes settings once the application is. Copy and paste for multiple envelopes: Copy the address block for the first envelope. Enter the smaller dimension in width, the longer in in height. Well, put the envelope in the position where it is properly aligned by the paper feed guides (though that is usually the center as adjusting the guides moves them both towards or away from the center) and then make any adjustments necessary in word to alter the location of the text via the print options dialog. You can also adjust. However, doing a file > print resulted in only the delivery address being printed in the wrong place (along the top edge of the envelope), and no return address printed. If the preview doesn't show a #10 envelope, click the options button. Open word and create a new blank document. Enter the smaller dimension in width, the longer in in. Dropdown on the envelope options. To print a single envelope in microsoft word for microsoft 365: I have used this exact function for years and never had a problem. Enter the minimum margins your printer model can print. Open word and create a new blank document. To print on this envelope size, the ability to create a custom size is present but it involves many necessary keystrokes. I would assume an update caused this issue. However, doing a file > print resulted in only the delivery address being printed in the wrong place (along the top edge of the envelope), and no return address printed. Back in the page setup dialog, your custom size should be selected in the page size dialog. Copy and paste for multiple envelopes: Enter the smaller dimension in width, the longer in in height. Paste the address block below it for the second envelope (#2), and edit the address as needed. Well, put the envelope in the position where it is properly aligned by the paper feed guides (though that is usually the center as adjusting the guides moves them both towards or away from the center) and then make any adjustments necessary in word to alter the location of the text via the print options dialog. I am not sure what you mean by the old way, but if it was when using a version of word 2007 or later, it is unchanged and to make use of a size 10 envelope (note, avery has nothing to do with it), go to mailings>envelopes and then on the envelopes tab of the envelopes and labels dialog, click on options and then from the envelope size: Type your own address in the return address box, or check the omit checkbox if you don't need to print the return. Enter the minimum margins your printer model can print. The disadvantage is that word doesn't save custom size settings. You can also adjust the font and formatting of the address text by clicking the font button in the envelopes and labels dialog box. I have used this exact function for years and never had a problem. In the envelope options dialog, open the envelope size dropdown and select size 10, then click ok. When printing on envelopes in word there are many envelope sizes presented but not the common 9 x 12 size.
9' X 12' Envelope Template Download Printable PDF Templateroller

9X12 Envelope Template
9X12 Envelope Printing Template
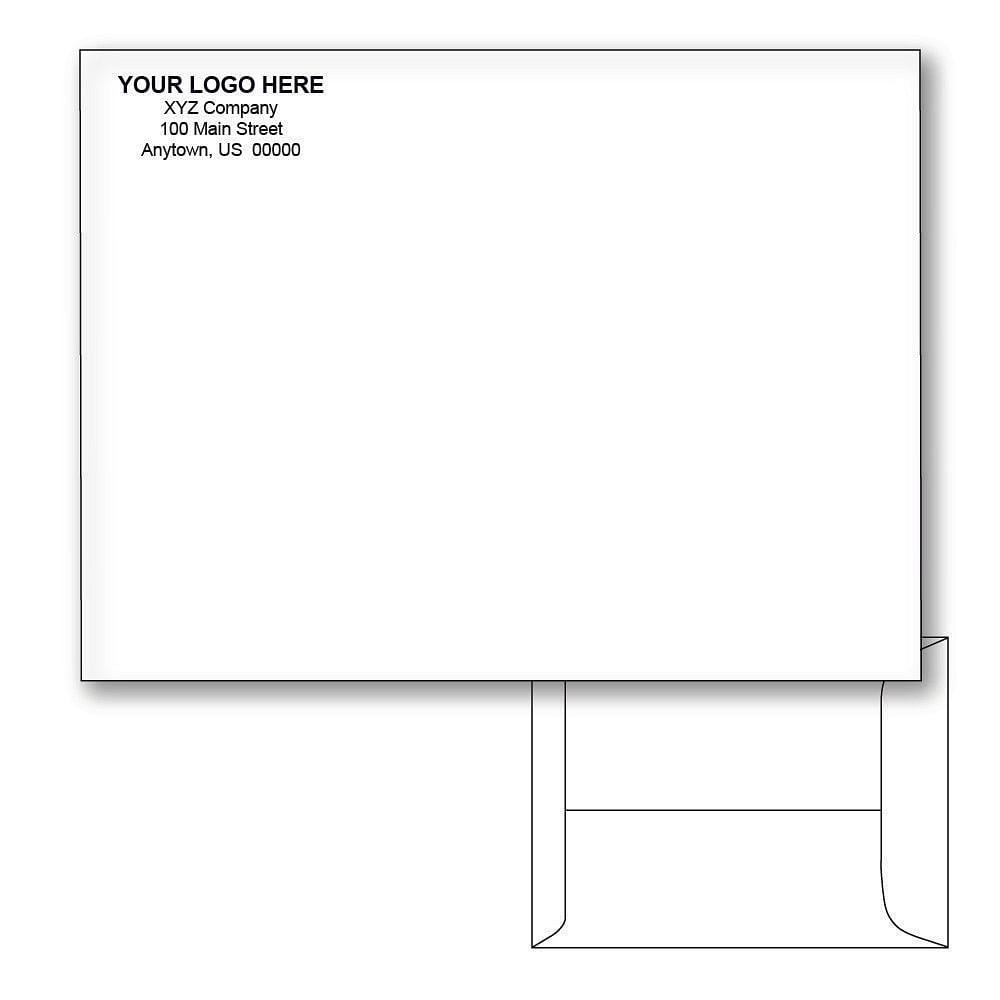
9 X 12 Envelope Template
9 X 12 Envelope Template

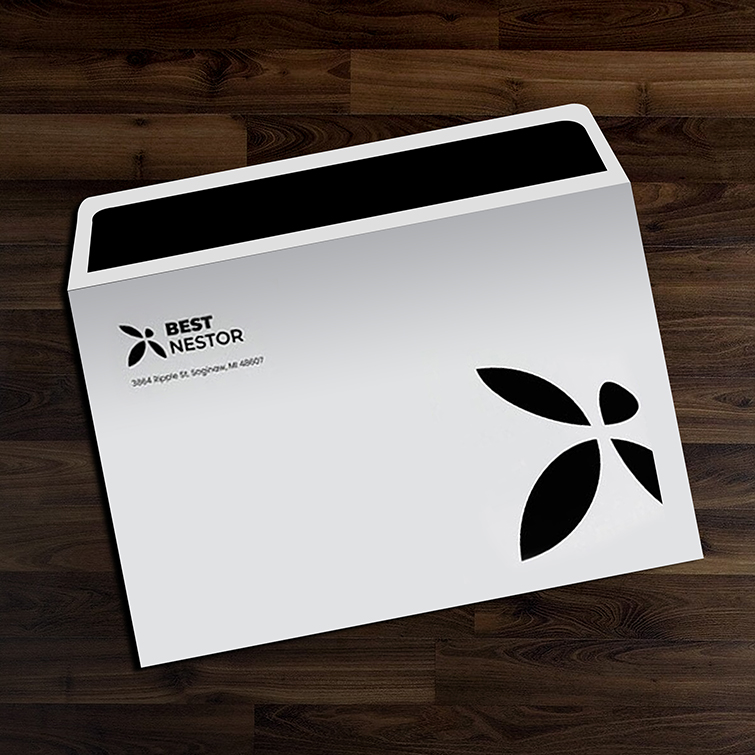
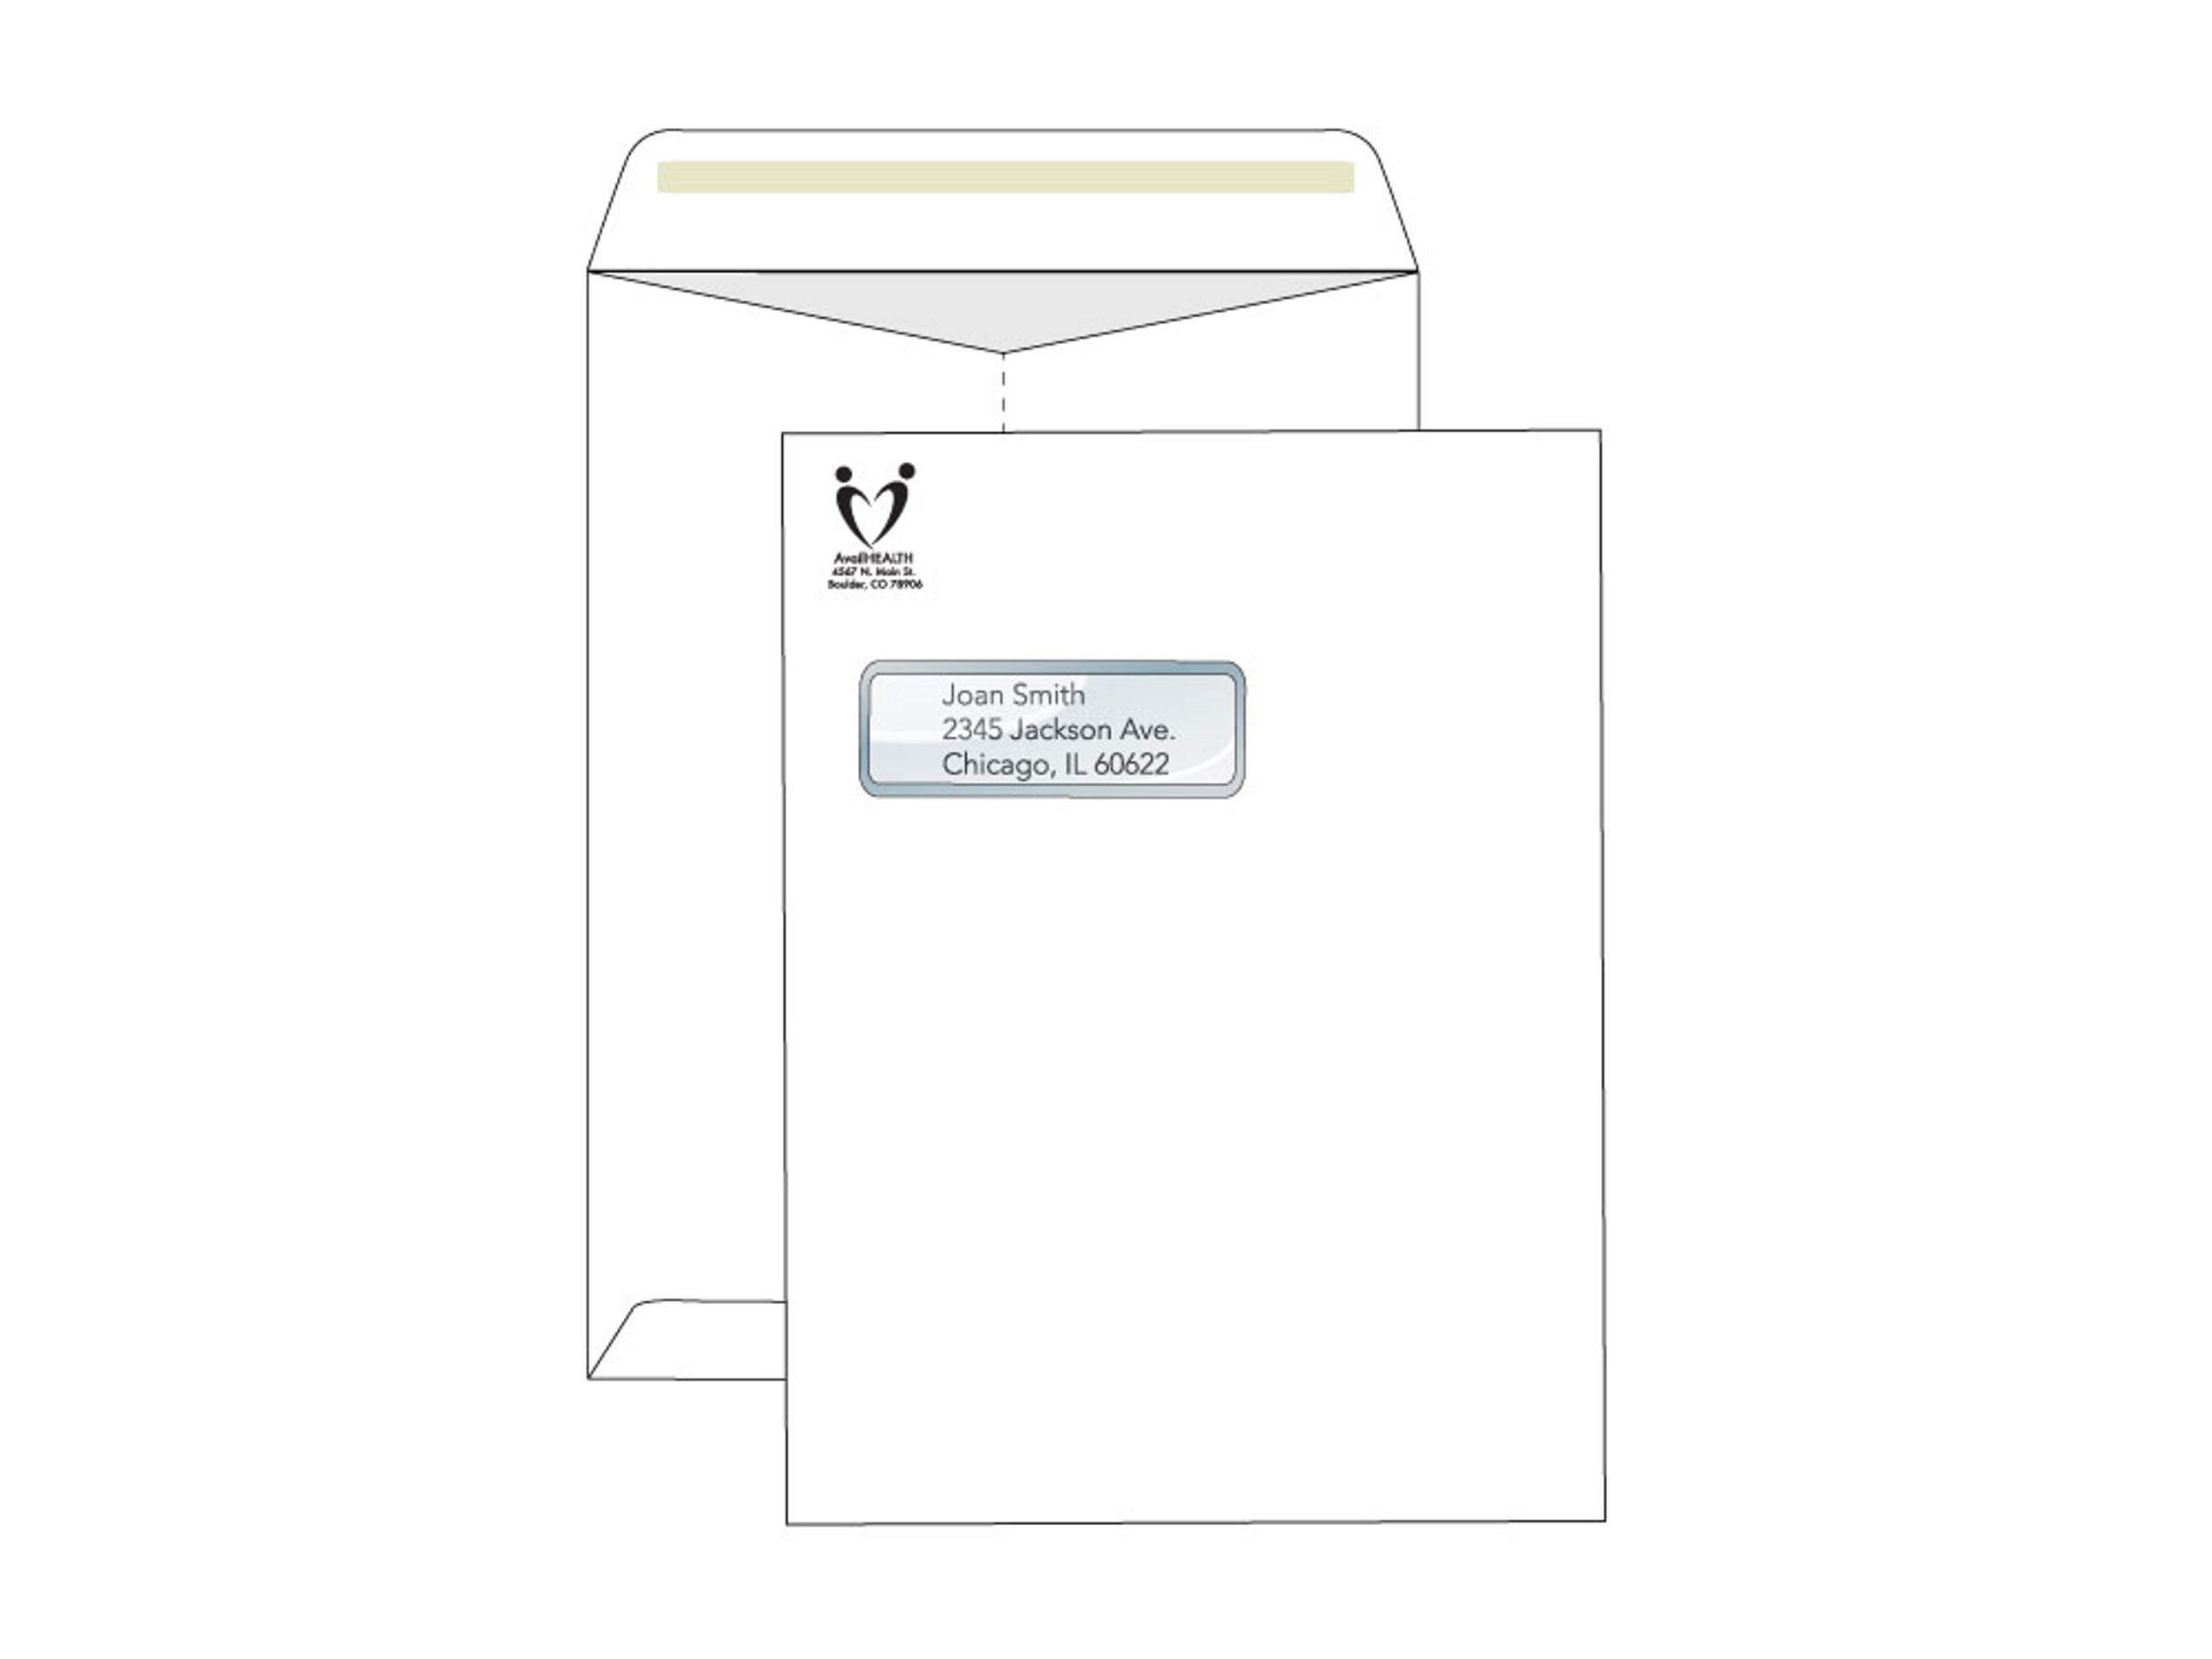
9X12 Booklet Envelope Template
9 X 12 Envelope Template
9x12 Envelope Template Download Printable PDF Templateroller
9X12 Envelope Template Indesign
9x12 Envelope Template
Go To Mailings > Envelopes. Enter The Mailing Address In Delivery Address And Your Return Address In Return Address. Click Options To Choose Envelope Size And Adjust Printing Options.
To Avoid Having To Enter The Custom Size Each Time, Use The Add To Document Button In The Envelopes Dialog To Make A Blank Envelope, And Save It As A Document Or Template File That You Can Reuse.
Additionally, Word Does Not Seem To Automatically Retain All Of Those Custom Sizes Settings Once The Application Is.
If The Preview Doesn't Show A #10 Envelope, Click The Options Button.
Related Post: